In this tutorial you will find out how to make a vivid banner in the graphics software Gimp (it is free to download). I'm not sure about earlier versions, but if its important then I will state that this tutorial was done with the latest version of gimp, 2.6.
If you like what you see then tag along!
>>This is my very first tutorial, if you're confused in any part, please tell me; I will try to explain it better
Since many people who look for premade/customs graphics cant afford photoediting software or aren't too familiar with the features, for them I decided to make this tutorial using Gimp 2.6, which is a free editing software, so for ones who cant afford, they can easily get familiarize to the world of graphic designing.
Hope you enjoy the tutorial!
>>since I have lack of space in this layout, I had to make the screenshots into thumbnail. Although I wrote all details down so if you dont need visual aid you are all set!
Btw, if you attempt this tutorial tell me :P
Here we go..
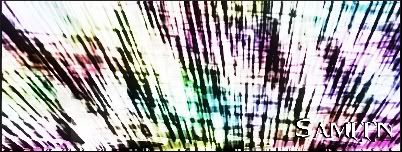
Step 1: First create a blank document, 400x150 px.
->Using a black circle brush make thick zigzag lines like shown below:

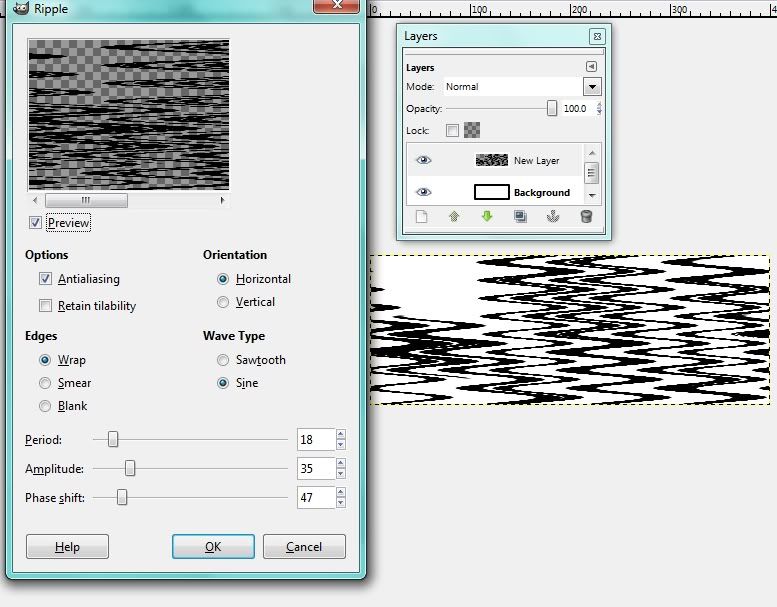
Step 2: Filter>Distort>Ripple
Click on these options:
Options: Antialiasing
Orientation: Horizontal
Edges: Wrap
Wave type: Sine
Aside from that Period should be on 18, amplitude at 35 and phase shift at 47.
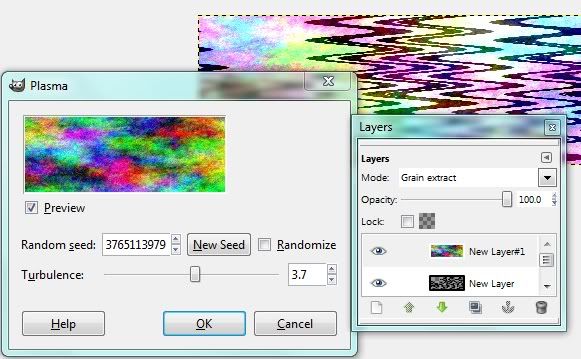
Step 3: Create a new layer and go to Filters>Render>Clouds>Plasma
Set the turbulence to 3.7. Then set the layer mode to “Grain Extract”
Step 4: Merge all the layers; to do this right click any layer and select “merge visible”, then duplicate it.
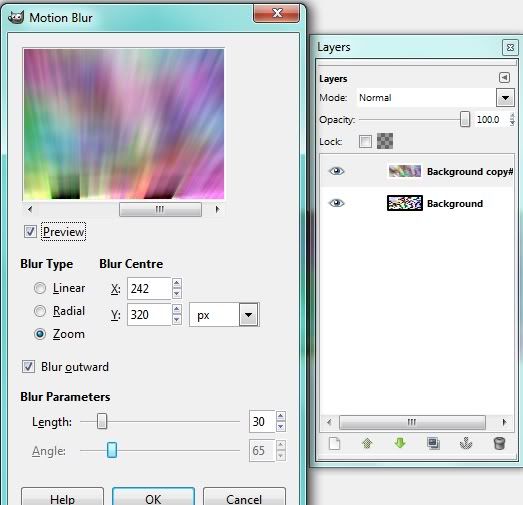
After duplicating go to Filter>Blur>Motion Blur
Set the blur type to zoom; x=242 y=320 px The blur should be outward. The length should be 30.
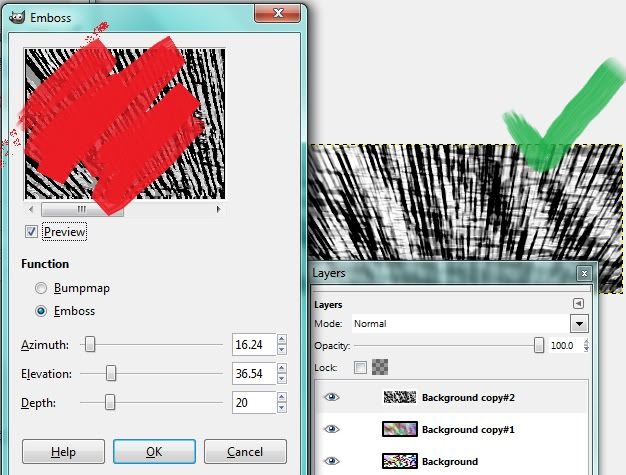
Step 5: In layers, duplicate the background copy once again, then go to Filter>Distort>Emboss. The setting should be as:
Function: Emboss
Azimuth: 16.24
Elevation: 36.54
Depth: 20. Click ok, then set the layer mode on hard light.
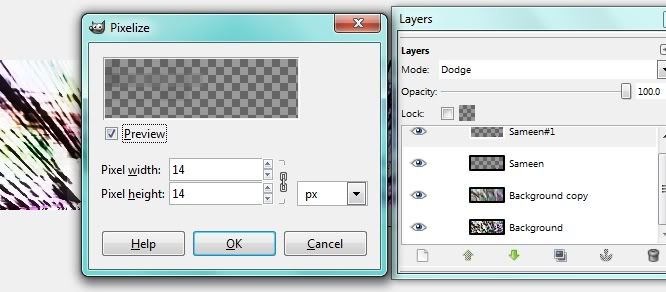
Step 6: Go back to the background copy; (the zoom blurr one) and go to settings filter>blur>pixelize
Make the pixel width and height 14. Then change the layer mode to “dodge” opacity should be at 55.
Step 7: Here are the steps for the text effect I used:
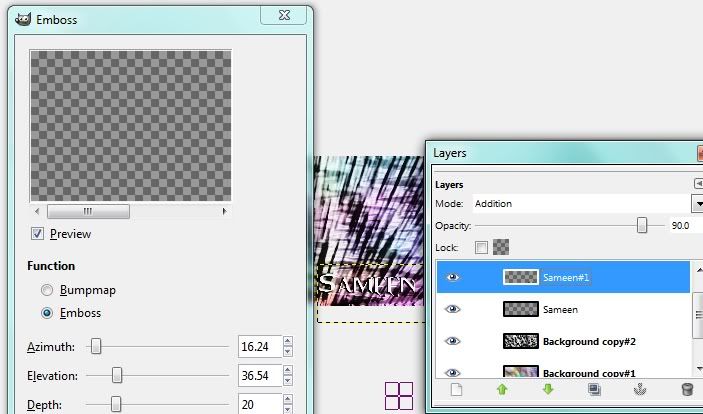
-Create a text layer and write whatever you want to write, use the colour red for the font. Then click on Filter>Repeat Emboss
Duplicate the text layer again and make the layer mode on “addition” if its too high contrast and you cant see the text properly then, click the first text layer you made and go to Colours>Colourize play around with the settings and see which one suits best. (if you are happy with how it looks then skip to step 9)
Step 8: If you want to make your banner more colourful and bright, you can use a pattern on it. First create a new layer, click on the paint bucket, click on pattern fill and select “walnut” its on the second last row to the right. Then change the layer mode to “burn” and change the opacity to 66. Make sure the walnut pattern layer is under the two text layers.
Step 9: The only thing left to do now is to add the border, it can be achieved from Filter>décor>add border, change the colour to black and make sure the x and y border sizes are 1px.
Hope you enjoyed the tutorial!